Publish an event
Announce a cupping, a workshop or a concert on your listing and in the guide's events listings.
Leitura: 4 minAtualizado a 11 de novembro de 2026
Este guia ainda não está no seu idioma: mostramo-lo em inglês.
Create an event in the portal and it appears on your listing and in the events listings on mycoffee.guide, translated into seven languages.
Before you start
- Your listing must be verified: Claim your coffee shop.
- You need the Owner, Admin or Manager role. Viewers can only see the list.
- Have the date and time, capacity, price (if any) and a landscape photo for the cover ready.
What you'll get: an event that goes live straight away, with no review by our team.
Steps
1. Create the event
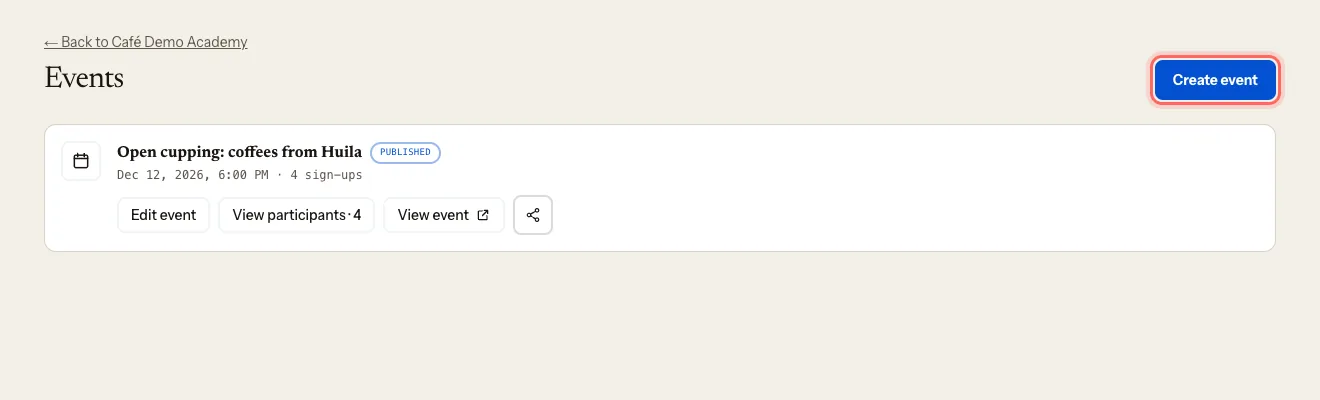
In your coffee shop's dashboard, go to Events.
Click Create event.
Fill in Title (required) and Description. Write it in your own language: it's translated into the others automatically.
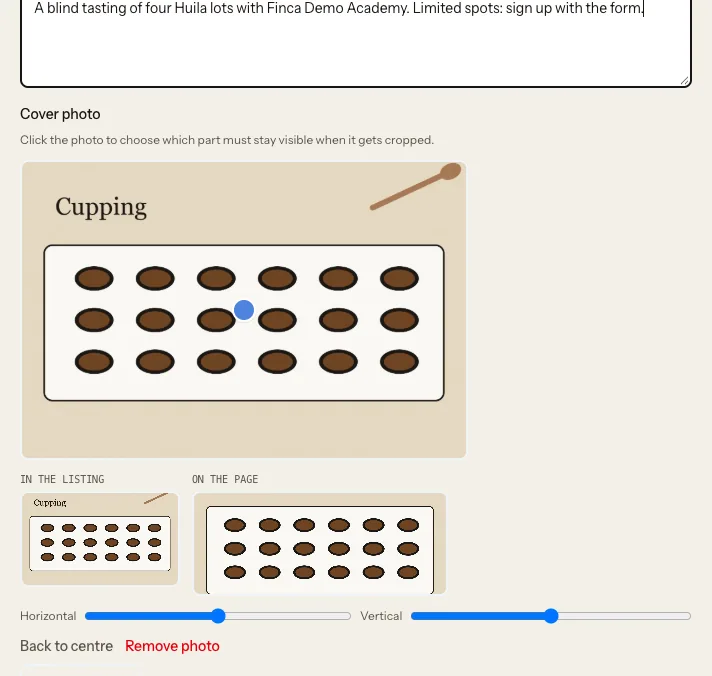
To add a photo, go to Cover photo and click Upload photo. Then click the part of the photo that must stay visible when it's cropped, and check how it looks In the listing and On the page.
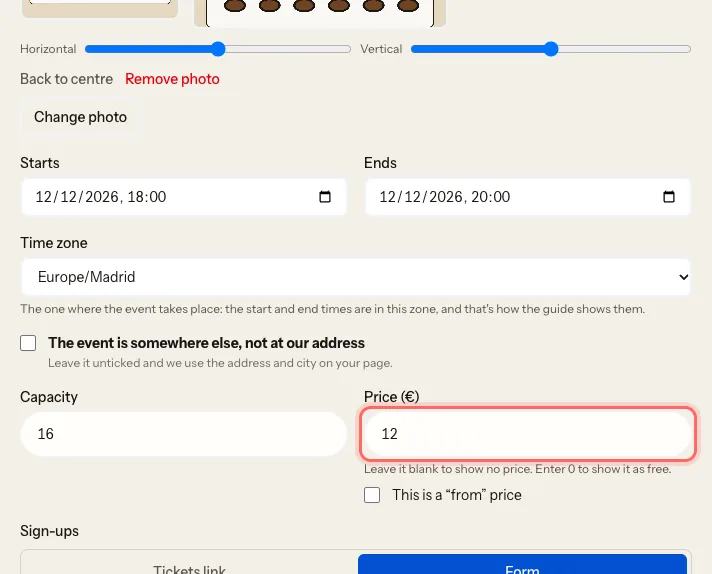
Set Starts (required) and, if you like, Ends.
Under Time zone, choose the one where the event takes place (for example, Europe/Madrid). It starts with your computer's or phone's zone: change it if the event is somewhere else. The Starts and Ends times are in that zone, and that's how the guide shows them.
If it isn't at your coffee shop, tick The event is somewhere else, not at our address and enter where.
Set the Capacity if places are limited.
Price (€):
- leave it blank to show no price;
- enter 0 to show it as free;
- enter an amount to show that price. Tick This is a "from" price if there are several rates.
2. Choose how people sign up
Under Sign-ups, choose one:
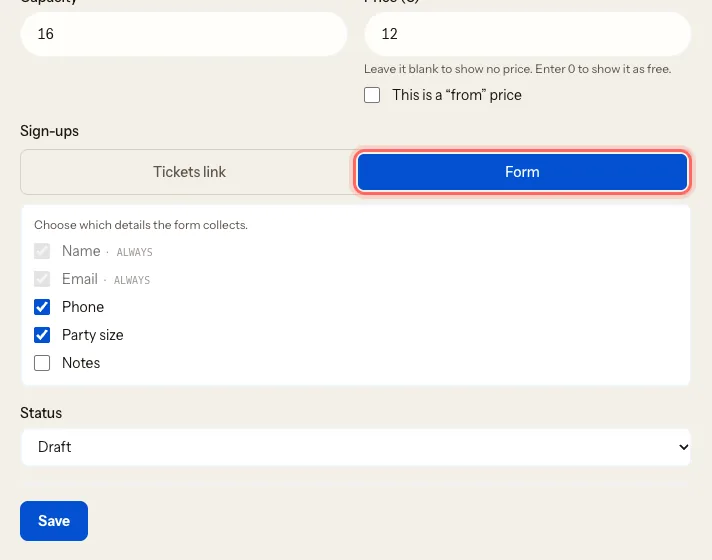
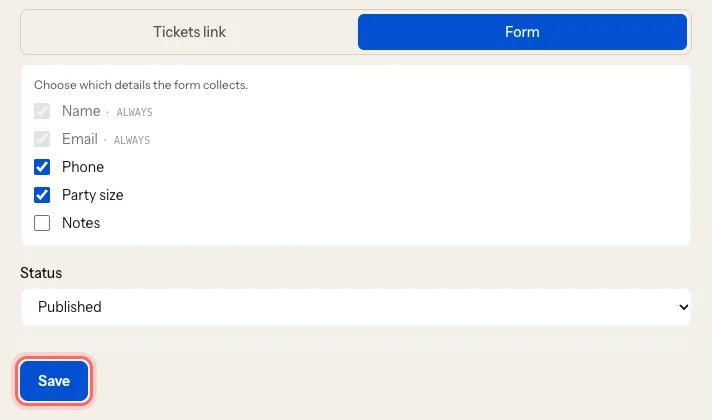
- Form: people sign up on the guide and you see who's coming. Name and Email are always asked; you can also ask for Phone, Party size and Notes.
- Tickets link: the button takes people to your website or ticketing platform. The guide only counts how many people click it.
3. Publish it
Under Status, choose Published. If it isn't ready, leave it as Draft.
Click Save.
Click View event to check how it looks on the web.
What happens next
- The event shows on your listing and in the events listings until it starts.
- Every time someone signs up through the form you get an email, and your dashboard shows # new signups: Track event sign-ups.
Troubleshooting
I get a limit message when I publish. Set another event to Draft or Archived. The portal shows you the options you have.
The time is wrong. Check the event's Time zone: it must be the one where the event takes place. Fix it, check Starts and Ends again, and click Save.
Can I sell tickets on the guide? No. The price is for information only. To sell tickets, use Tickets link with your ticketing platform.
Este guia foi útil?